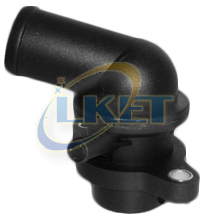
Step-by-Step Guide to Replacing a Car’s Thermostat
author: Emma
2025-12-19
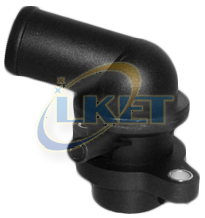
Replacing a car’s thermostat is a common DIY maintenance task that can fix overheating or poor heating issues. Below is a step-by-step guide to help you complete the job safely and correctly:
Before You Start: Gather Tools & Supplies
First, ensure you have everything you need to avoid interruptions:
- New thermostat (match the OEM part number for your car’s make/model/year)
- Thermostat gasket or O-ring (included with most replacement thermostats)
- Coolant (antifreeze) compatible with your vehicle (check the owner’s manual)
- Basic hand tools: socket set, screwdrivers, pliers, a drain pan, rags
- Optional: gasket sealer (if recommended by the manufacturer), torque wrench, funnel
Step 1: Prepare the Vehicle
- Safety First: Make sure the engine is completely cool (wait at least 4–6 hours after driving) to avoid burns from hot coolant.
- Disconnect the Battery: Unhook the negative (-) battery terminal to prevent electrical accidents (especially if working near sensors).
- Elevate the Car (if needed): Use jack stands to lift the front of the car for better access (never rely on just a jack).
Step 2: Locate the Thermostat
The thermostat is typically housed in a thermostat housing (metal or plastic cover) connected to the top or bottom radiator hose, near the engine’s intake manifold or cylinder head.
- Follow the upper radiator hose from the radiator to where it meets the engine—the housing at this connection almost always contains the thermostat.
- Consult your vehicle’s repair manual if you’re unsure (locations vary by engine type).
Step 3: Drain the Coolant
- Place a drain pan under the radiator’s drain cock (petcock) or the lower radiator hose.
- Open the drain cock (or loosen the lower hose clamp and pull the hose off slightly) to drain enough coolant to drop the level below the thermostat housing (usually 2–3 quarts).
- Close the drain cock or reattach the lower hose once finished, and dispose of old coolant properly (many auto parts stores recycle it for free).
Step 4: Remove the Thermostat Housing
- Disconnect hoses: Loosen the clamps on the radiator hose (and any heater hoses) attached to the thermostat housing, then pull the hoses off (use pliers if stuck—twist gently to avoid cracking the housing).
- Remove mounting bolts: Use a socket wrench to unscrew the bolts/nuts holding the thermostat housing to the engine. Keep track of the bolts (they may be different lengths).
- Take off the housing: Gently pry the housing away from the engine (a flathead screwdriver can help, but be careful not to damage the mating surfaces). You’ll now see the thermostat inside the engine’s recess.
Step 5: Remove the Old Thermostat & Clean Surfaces
- Pull the old thermostat out of the engine (it may be stuck—use a rag to grip it, or gently tap with a soft mallet).
- Note the orientation: The thermostat’s spring side usually faces into the engine (installing it backwards will cause overheating!).
- Scrape off the old gasket/O-ring and any leftover gasket material from both the engine and housing mating surfaces (use a plastic scraper to avoid scratching metal; avoid metal scrapers on aluminum parts).
- Wipe the surfaces clean with a rag and solvent (like brake cleaner) to ensure a tight seal.
Step 6: Install the New Thermostat
- Place the new thermostat into the engine recess in the correct orientation (spring side toward the engine).
- Install the new gasket/O-ring:
- If using a gasket, apply a thin layer of gasket sealer to one side (follow the manufacturer’s instructions—some gaskets are pre-coated and don’t need sealer).
- Position the gasket between the engine and housing.
- Reattach the thermostat housing: Align it with the engine, insert the mounting bolts, and tighten them evenly (in a crisscross pattern)
Rapid Warm-up in Extreme Cold: How High-Efficiency Heater Control Valves Drastically Reduce Winter Cabin Warm-up Time
What Happens When a Thermostat Fails?
Related Article

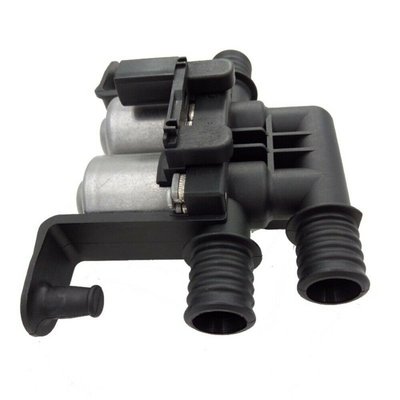
This guide outlines five key indicators for selecting a high-quality heater control valve: core materials (brass/stainless steel), sealing performance (FKM/EPDM seals), control method and accuracy, compatibility and craftsmanship, and brand reputation with warranty. By evaluating these factors, buyers can ensure durability, prevent leaks, and secure reliable winter heating for their vehicle.
Buying Guide: Five Key Indicators to Identify a High-Quality Heater Control Valve
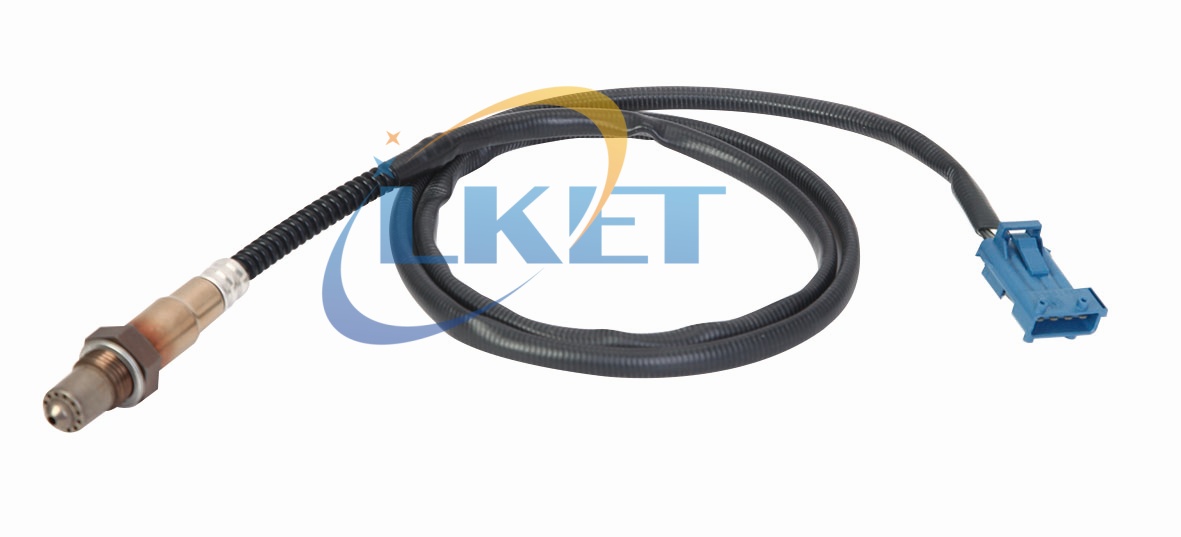
This article compares OEM and brand-name oxygen sensors, highlighting key factors for choosing between them. It explains that OEM parts ensure perfect compatibility and stability at a higher cost, while reputable brand-name parts offer significant savings and comparable performance for out-of-warranty vehicles. The guide recommends selecting reliable brands based on warranty status, vehicle model, and usage needs.
OEM Parts vs. Brand-Name Parts: How to Choose a Reliable Oxygen Sensor?